


Its gonna be my first post in 2012, are u guys excited ?
than its better for me to start with something creative.
Well in this post, i gonna show u how i made DIY customized makeup palette...
Its absolutely fun and easy to do, so please follow me and get some fun !! WOHOOO.

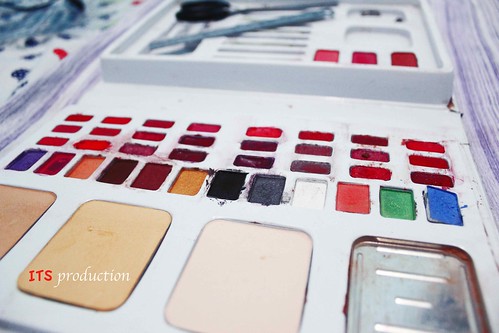
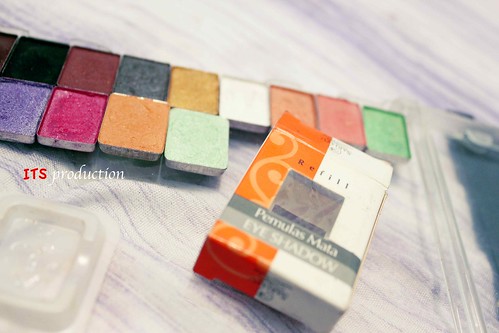
So first of all, u need the makeup product such as eyeshadows, blushes or whatever u like...
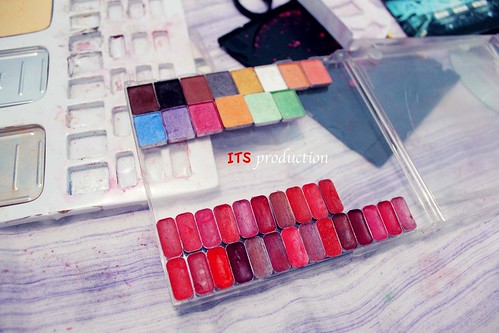
For me, i gonna transfer my favorite eyeshadows, lipcolors, and blushes.
From the ugly, space consuming pallete into a empty cd case.
so prepare that with me...
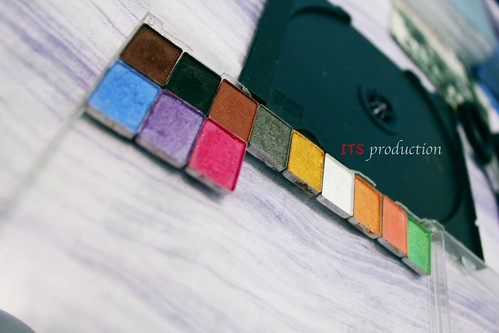
UGLY AND MESSY MAKEUP PALETTE or CASE (the idea is, your favorite makeup product which have ugly packaging )
(dont be stupid to transfer your eyeshadows from mac or urban decay palette into a non sense boring cd case ok, u'll regret it soon)
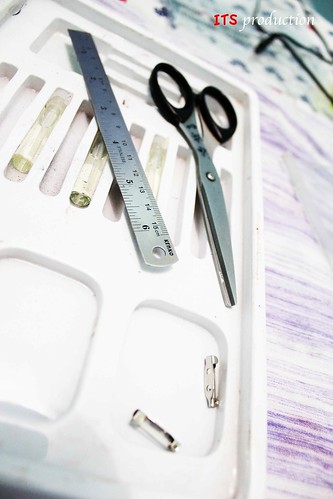
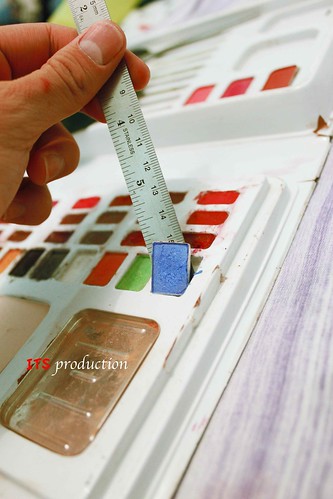
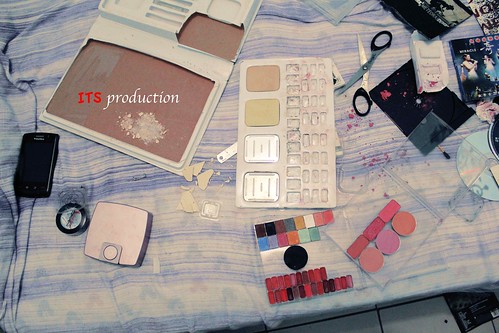
HANDY TOOLS
Scissor , anything sharp to dig for some space, and ruler for helping u to lift up the productS.
(im not sure about the tools, but u can use everything in handy, as far as u know how to use it)
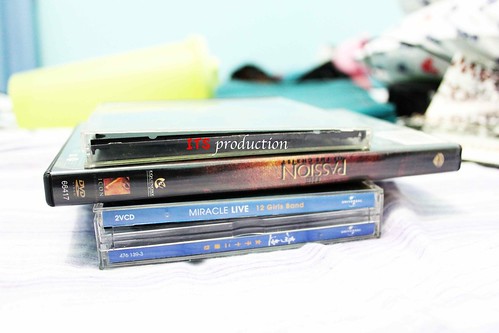
EMPTY CD CASE
that you're pretty sure , that u don't mind to use..
(and make sure if its pretty thick, so your product could fit perfectly in. Old chinese annoying album could be perfect, but please ask your parents before use)
WARNING : THIS MAY GET MESSY, SO DONT DO IT ON YOUR BED. DO IT SOMEWHERE EASY TO CLEAN UP
And now...
We can move on to the process...
I have 2 methods to take your eyeshadow off from the pan...
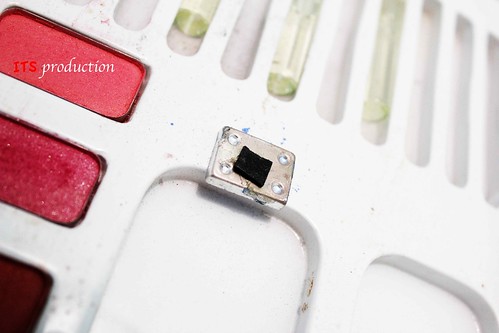
THE FIRST ONE :
U can use anything sharp to dig a space at the side .
But please be careful, dont poke the eyeshadow.
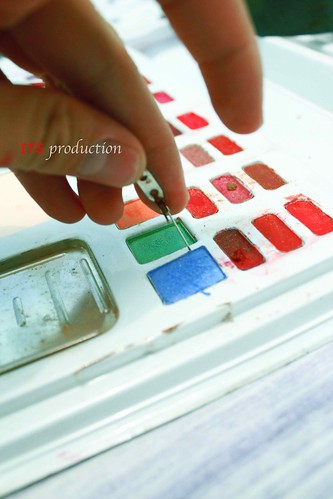
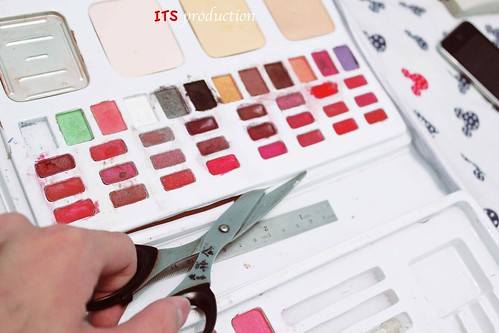
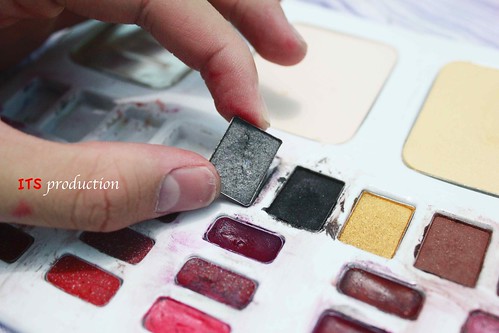
THE SECOND ONE :
is the most recommended way by me, but not all of the palette will work with this method. But if your old palette was made from plastic or paper, just forget the first method which takes more risk than time than the second one...
U need to cut it apart, until u can touch the bottom of your eyeshadow so u can press it out from the holder..
if you're confuse with what im saying. Well the picture explain a million words...LOLS

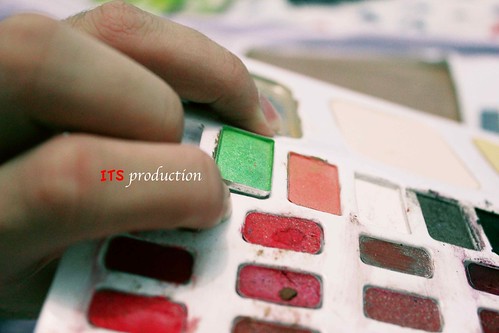
See, im pressing it out from the case or holder or palette or plastic.
whatever you name it...
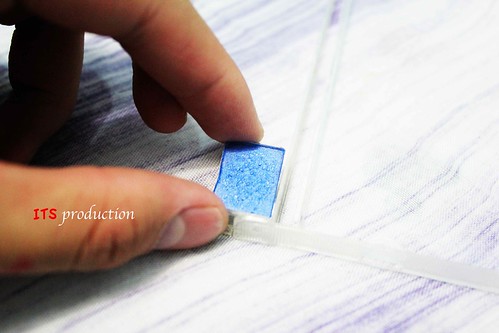
And again, u can ask the lift up the product with ruler.
Trust me, this will reduce cracking risk...
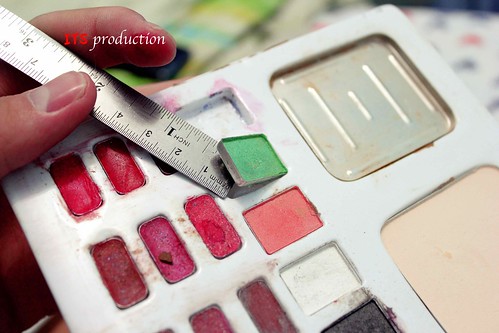
WARNING : THE UNEVEN FINGER PRESSURE FROM THE SIDE WILL CRACK THE EYESHADOWS. SO U NEED TO BE GENTLE OR USE YOUR RULER TO LIFT UP THE PRODUCT FROM THE BOTTOM.
And TADAAAAA !!! i successfully get all of the eyeshadows out...
And if needed u can stick a little piece of double sided glue at the back. But i believe most of the eyeshadow pan already contained glue at the back..
But just in case..
U can mix different brand in one palette, just mix it for fun people...
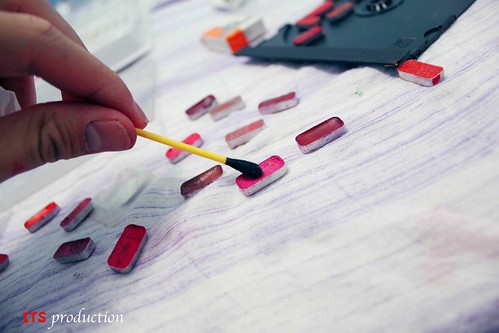
And i did the same thing with the lip product...poke it out
this is pretty easy since this is smaller than the eyeshadow..

Bye-bye you ugly and huge palette, i don't need you now !!!
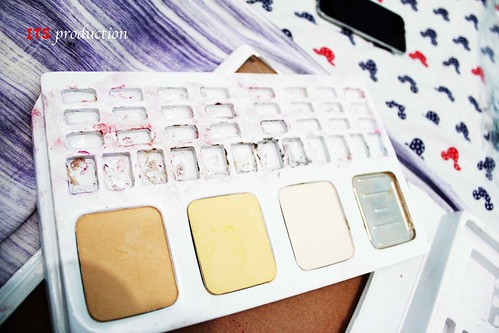
its better for you to clean the surfaces of the product before put it in the new palette..
in case your is as dirty as mine....
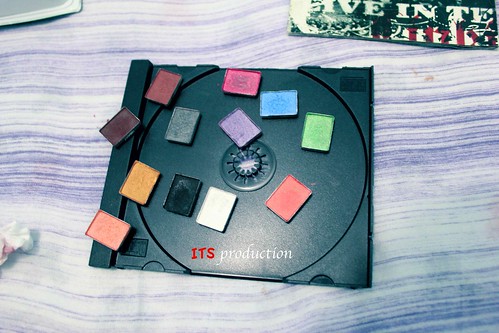
And again, just arrange it as u want...be creative and fun
And Im done !!!!
look...how pretty is it..

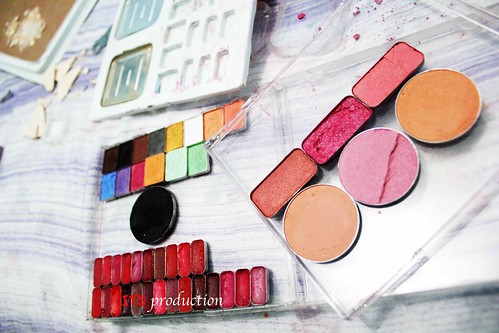
And not just that...u can do it with your blushes too !!!
See this is what happen if your not careful when lift it up...CRACK !!1
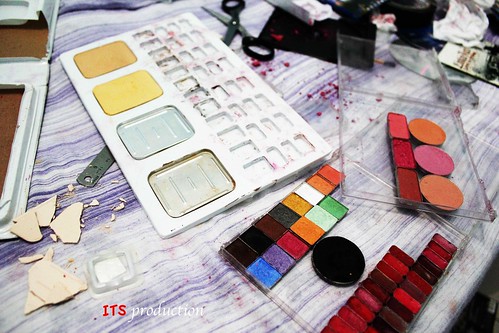
SO this is how messy that i get..
seriously guys, im not gonna hold anything back...
This is my first time doing this and its more fun for me to do an real shoot.
not the one that i already clean it up and u guys think how perfect is it..
By The Way, the messier u get, the fun-er u will get.
im soooo proud to look at the mess...
i feel like im a professional to do this..
since art worker usually messy, so i cant complain
So people !!!! that's all and i hope u enjoy and have fun with the post..
and i hope to see your response, just leave me comments or let me see if you're doing your own DIY palette too...
And u can follow my twitter for some fun tips, and to ask me things.
yups...please keep it fabulous...
and see u soon !!!
love and hugs..
XOXO
REBZ
thx rebz,
ReplyDeletevery useful for me..
http://sheillablog.com/
sheila : hey there !!! im the one who should say thanks for coming....hehehe....glad that my post can be useful for you..
ReplyDeleteinformative!
ReplyDeletegreat effort there, to rearrange, paste dan clean surfaces of each pans.
kudos to the creativity. :D
13vyl : hi there...thanks for coming...im really glad that you like my post !!!!
ReplyDeletexoxo
rebz
Ya ampun, gak pernah kepikiran buat pake tempat CD.. Great tips!
ReplyDeletemakeuprelated.blogspot.com
THIS IS GENIUS! I'm doing it!!!!!!
ReplyDeletePLUS we can custom the CD cover and fool everybody into thinking that a CD is inside...NOT!